This guide will guide you through the steps to setup a pkhub pod that will create and update secrets
in your Kubernetes clusters based off Environments you create.
Overview
The pk cli can create Kubernetes Secrets from Environments
and each Environments can have any amount of embedded yaml Secret definitions.
For example:
You create an Environment “MySecretEnvs” with:
apiVersion: v1
kind: Secret
metadata:
  name: mysecret1
  namespace: default
type: Opaque
stringData:
  token: mysecrettoken
---
apiVersion: v1
kind: Secret
metadata:
  name: mysecret2
  namespace: default
type: Opaque
stringData:
  pass: mysecretpass
and run the pk command:
pk k8s apply secret --safe mysafe --lbls mysecret
Two secrets each with the name “MySecret1” and “MySecret2” will be created.
1. Setup Application Keys
If you do not already have API keys, please follow the CLI Install Guide and create a new API key pair.
For the steps in this document we assume the namespace pkhub exists.
kubectl create namespace pkhub
Then in create the secret pkkeys that contains the PK_KEY_ID and PK_KEY_SECRET variables.
kubectl create secret generic pkkeys -n pkhub --from-literal=PK_KEY_SECRET=$PK_KEY_SECRET --from-literal=PK_KEY_ID=$PK_KEY_ID
2. RBAC
If your Kubernetes cluster has RBAC enabled, apply the Service Account, Cluster Role and Cluster Role Binding in rbac.yml, or run:
kubectl apply -f https://raw.githubusercontent.com/pkhubio/pkcli/master/k8s/rbac.yml
You should see:
serviceaccount/pkhub-secrets created
clusterrole.rbac.authorization.k8s.io/pkhub-secrets-role created
clusterrolebinding.rbac.authorization.k8s.io/pkhub-secrets-role-binding created
3. Create a PKHub Secret Manager deployment
Now you can create a Deployment with a single Pod replica that will loop sleep and update any secrets that are in the environments you select for the secret management.
If you want to play around first and see how the pk cli command works and how secrets are created run:
kubectl -n pkhub run --generator=run-pod/v1 --serviceaccount=pkhub-secrets -i --tty pk-cli --image=pkhub/pk-cli -- sh
and when you’ve finished run:
kubectl -n pkhub delete pod pk-cli
Download and modify the deployment example secret-manager-example.
The important part is in the
args:
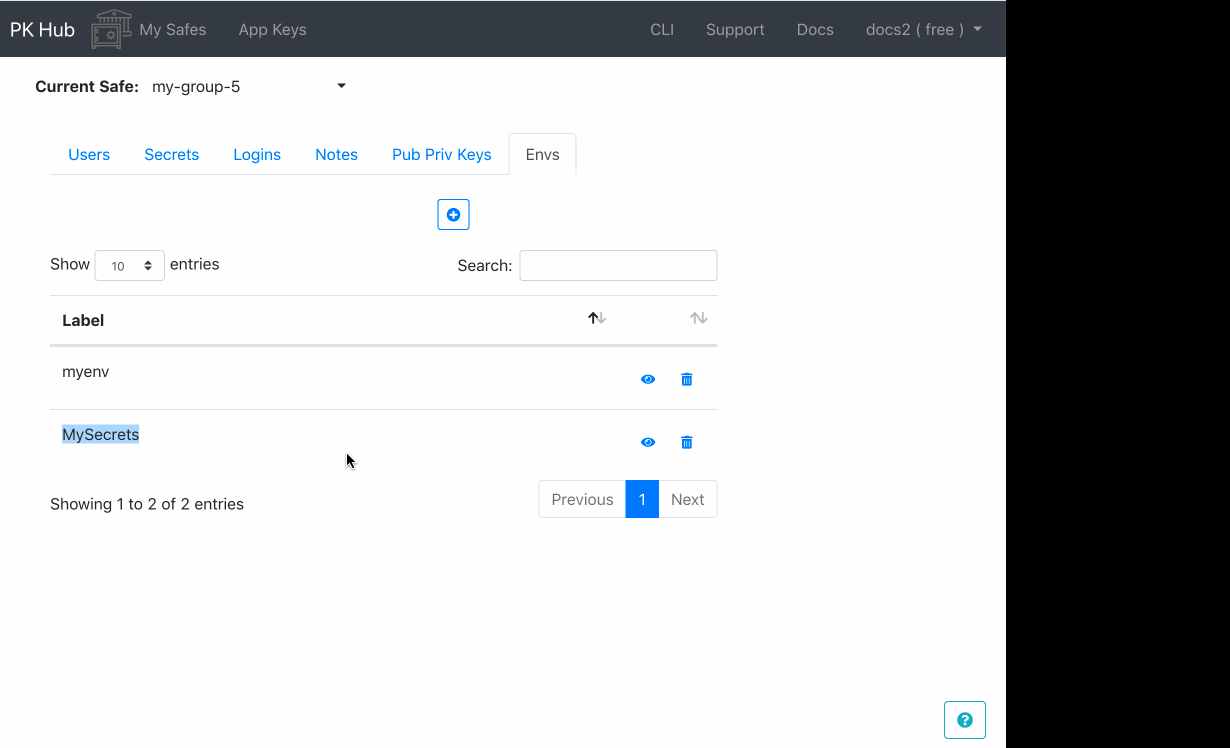
- pk k8s apply secret --safe my-group-5 --lbls MySecrets --loop 1
where you can configure which environments are used to create secrets from.
pk k8s apply secret --safe my-group-5 --lbls MySecrets --loop 1
This command will download the environment MySecrets from the safe my-group-5 and create secrets based on the
content of the environment, which is expected to be one or more Kubernetes yaml definitions. Notice the --loop 1 flag,
this tells the pk cli to sleep 1 minute and update the secrets again.
4. Updating secrets
Yaml formatting is always tricky, the env text area does some validation but simple things like
no space between “:” and its value are not caught, e.g A:1 is not valid but A: 1 is.
This is simple, you edit the environment and wait for the sercret manager to update the secrets, the time lapse depends on the value you supplied in the loop flag.
Namespaces
You must specify the namespace for each Secret in its yaml definition. The secret manager will create the secret
in this namespace, but if your Kubernetes cluster has RBAC setup, you must create the RBAC roles and launch the
secret manager using the pkhub service account, this is all setup in the RBAC
yaml file and the secret-manager-example has the service account setup.
Example